
Effective lesson planning transforms good teaching intentions into structured learning experiences that help students achieve meaningful outcomes. This comprehensive guide walks you through a practical, sustainable system for planning daily lessons that engage students, address standards, and make efficient use of your limited planning time.
Understanding the Purpose of Daily Lesson Planning
Daily lesson planning serves multiple crucial functions. It helps you think through the learning sequence before you’re in front of students, anticipate misconceptions and challenges, prepare necessary materials, and ensure alignment between your objectives and activities. A solid plan gives you confidence and direction while remaining flexible enough to respond to student needs in the moment.
The goal isn’t to script every word or predict every minute, but rather to have a clear roadmap that guides instruction while allowing for the adjustments that responsive teaching requires. Your lesson plan should be detailed enough that a substitute could teach from it, yet practical enough that you can create it efficiently without burning out.
The Foundation: Backward Design
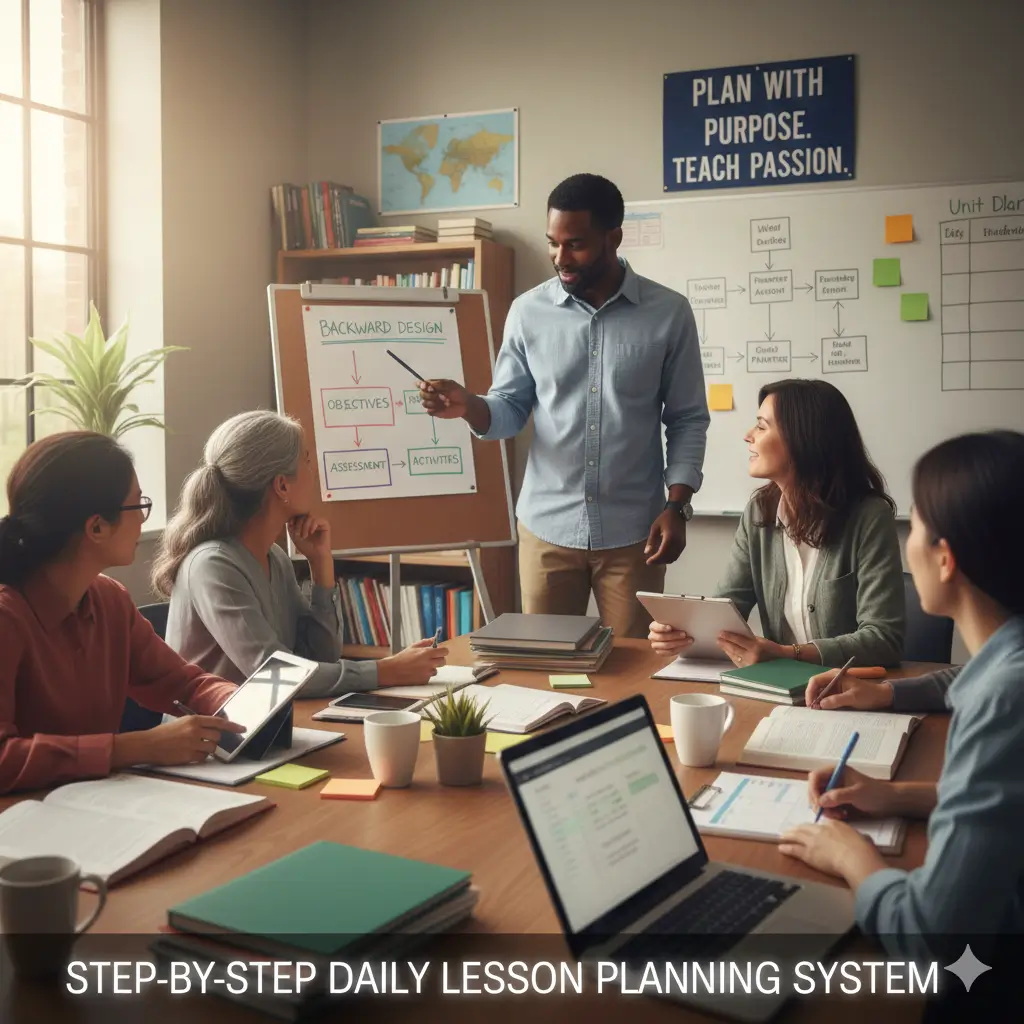
Before diving into daily planning specifics, understand the backward design framework that should inform your approach. This means starting with the end in mind: what should students know, understand, and be able to do by the end of the lesson? From there, you determine how you’ll assess whether they’ve achieved those outcomes, and only then do you plan the instructional activities that will help them get there.
This sequence prevents the common trap of planning engaging activities that don’t actually move students toward your learning goals. It ensures coherence and purpose in every lesson component and makes it easier to make instructional decisions during the lesson itself.
Step 1: Identify Your Learning Objective
Begin every lesson plan by articulating a clear, specific learning objective. This should describe what students will learn or be able to do by the end of the lesson, not what activities they’ll complete. Write it in student-friendly language and make it measurable so you can assess whether learning occurred.
An effective objective typically includes an action verb, the content or skill being learned, and the context or conditions under which students will demonstrate learning. For example, “Students will be able to identify the main idea and three supporting details in a grade-level informational text” is far more useful than “Students will learn about main idea.”
Connect this objective to your broader unit goals and curriculum standards, but don’t feel obligated to address every standard in every lesson. Focus on depth rather than breadth, giving students time to genuinely learn one concept or skill well rather than superficially covering many.
Step 2: Plan Your Assessment Strategy
Once you know what students should learn, determine how you’ll know whether they’ve learned it. Plan both the formative assessments you’ll use throughout the lesson to check understanding and adjust instruction, and the method you’ll use at the end to evaluate whether students achieved the objective.
Your exit assessment doesn’t need to be elaborate. It might be a quick written response, a problem to solve, a turn-and-talk where you eavesdrop on conversations, or a thumbs-up signal indicating confidence level. The key is that it directly measures the learning objective and gives you actionable information about who has mastered the content and who needs additional support.
Plan also for checks for understanding throughout the lesson. Identify the three to five critical points where you’ll pause to assess whether students are ready to move forward. Decide what you’ll specifically look for, listen for, or ask, and how you’ll respond if students aren’t understanding. This prevents the situation where you reach the end of a lesson only to discover students were lost twenty minutes earlier.
Step 3: Determine Your Instructional Approach
With your objective and assessments clear, plan the instructional sequence that will help students achieve the learning goal. Consider which instructional model best fits your content and students: direct instruction, inquiry-based learning, collaborative problem-solving, discussion-based learning, or some combination.
Most effective lessons follow a general structure with some variation of these components: an opening that activates prior knowledge and creates purpose, explicit instruction or modeling of new content, guided practice where students try with support, independent practice where they apply learning on their own, and closure that consolidates understanding. The time spent on each component varies based on content complexity, student needs, and where you are in the learning progression.
Think carefully about the cognitive load you’re asking of students. Introduce new concepts one at a time when possible, provide models and examples before expecting independent application, and build in time for processing and practice. Avoid the temptation to cover too much in one lesson; depth of learning matters more than breadth of coverage.
Step 4: Design Your Opening
The first few minutes of your lesson set the tone and direction for everything that follows. Plan an opening that captures attention, activates relevant prior knowledge, and clearly communicates the learning objective and its relevance to students.
Your opening might include a provocative question, a brief problem or scenario, a quick review of previous learning, a demonstration that creates curiosity, or a connection to students’ lives or interests. Make it engaging but purposeful, directly connected to the lesson’s content rather than just a fun activity.
Clearly share the learning objective with students in language they understand, and help them see why it matters. You might show how the skill connects to future learning, to their lives outside school, or to questions they’ve previously asked. When students understand where they’re going and why it matters, engagement and motivation increase significantly.
Step 5: Plan Explicit Instruction and Modeling
For most lessons, you’ll need to directly teach new content or demonstrate new skills before expecting students to practice independently. Plan exactly what information you’ll present, which examples you’ll use, and how you’ll model the thinking process involved.
Identify the key concepts, vocabulary, or steps students need to understand. Decide what you’ll explain verbally, what you’ll show visually through diagrams or demonstrations, and what concrete examples will make abstract ideas accessible. Consider potential misconceptions students might develop and plan how you’ll address them proactively.
When modeling skills or processes, use think-alouds to make your expert thinking visible. Verbalize the questions you ask yourself, the decisions you make, and the strategies you employ so students can begin to internalize these approaches. Use multiple examples that show both what success looks like and common errors to avoid.
Step 6: Structure Guided Practice
Guided practice provides the scaffolding students need to try new skills with your support before working independently. Plan activities where students practice while you circulate, provide feedback, clarify confusion, and offer additional modeling as needed.
This might look like solving problems together as a class with students contributing ideas, working through practice problems in partnerships while you move around the room, or completing graphic organizers with your guidance. The key is that students are actively doing the cognitive work, not just watching you work, but they have access to support when they struggle.
Plan specific questions you’ll ask to probe understanding and specific feedback you’ll provide to common errors or approaches. Decide how long guided practice will last and what criteria will tell you students are ready to move to independent work. Build in flexibility since some classes will need more guided practice than others.
Step 7: Create Independent Practice
Independent practice allows students to consolidate learning and gives you data about who has achieved the objective and who needs intervention. Plan practice activities that directly align with your learning objective and assessment, providing enough repetition for skill development without becoming tedious or overwhelming.
Consider differentiation at this stage. You might offer practice problems at varying difficulty levels, provide choice in how students demonstrate understanding, or create tiered assignments based on readiness. Think about students who will finish quickly and need extension as well as those who will struggle and need additional support.
Decide whether independent practice happens during class time or as homework, keeping in mind that homework is most effective when it involves practice of already-learned skills rather than new learning. If you assign independent practice as homework, plan how you’ll hold students accountable and use the work instructionally rather than just for grading.
Step 8: Plan Your Closure
Many teachers run out of time and skip closure, but these final minutes are crucial for consolidating learning and assessing understanding. Plan a closing activity that requires students to synthesize, reflect on, or apply what they’ve learned while giving you data about achievement of the objective.
Your closure might involve students completing an exit ticket, explaining the concept to a partner, writing a quick reflection about what they learned and what’s still confusing, or demonstrating the skill one final time. Make it quick but meaningful, something you can feasibly complete even if the lesson runs long.
Use closure also to preview upcoming learning, making connections between today’s lesson and what comes next. This helps students see the coherence of the curriculum and primes them for future lessons.
Step 9: Organize Materials and Logistics
With your instructional plan complete, identify every material you’ll need and ensure you have it prepared and organized before the lesson begins. This includes handouts copied in sufficient quantities, technology tested and queued up, manipulatives or supplies gathered and distributed, texts or resources marked to relevant pages, and any anchor charts or visuals posted.
Think through the logistics of distributing and collecting materials, transitioning between activities, and managing time. Write these details into your plan including approximate time allocations for each lesson segment. While you won’t stick to these times rigidly, having them helps you pace the lesson appropriately and recognize when you’re spending too much or too little time on a component.
Consider classroom management proactively. Where will students work during different parts of the lesson? How will you group them for collaborative activities? What’s your signal for getting their attention during partner work? Building these details into your plan prevents improvising management on the fly, which rarely goes well.
Step 10: Build in Differentiation
No group of students is truly homogeneous, so plan for the range of learners in your classroom. Identify where students might struggle and how you’ll provide additional support, where they might excel and how you’ll extend learning, and how you’ll make content accessible to students with varying needs.
Differentiation might involve varying the complexity of examples you use, providing sentence frames or graphic organizers for students who need them, offering choice in how students demonstrate learning, adjusting the pacing or amount of guided practice, or preparing enrichment activities for early finishers. Build these supports and extensions directly into your plan rather than creating them on the spot when you realize they’re needed.
Consider your students with IEPs, 504 plans, or English language learners and ensure you’ve incorporated their required accommodations and modifications. These shouldn’t be afterthoughts but integrated elements of your instructional design.
Step 11: Document and Organize Your Plan
Create a consistent template that includes all the components you need while being quick to complete. Your template might include sections for the learning objective, standards addressed, materials needed, assessment strategy, lesson sequence with time allocations, differentiation notes, and reflection space.
Some teachers prefer detailed narrative plans while others work better from bulleted outlines or even visual flowcharts. Find the format that gives you sufficient detail without feeling burdensome to create. Remember that your lesson plan is a tool for you, not a performance for evaluation, so design it to be maximally useful for your teaching.
Store your plans in a way that makes them easy to access during teaching and easy to find for revision in future years. Many teachers use digital planning tools, three-ring binders organized by unit, or cloud-based systems. Whatever you choose, make sure you can quickly reference your plan during instruction and that you’re building a resource library for the future.
Step 12: Reflect and Revise
After teaching the lesson, take a few minutes to reflect while the experience is fresh. Note what worked well and should be kept, what didn’t work and why, which students struggled and might need reteaching, and what you’d change if you taught this lesson again.
These reflections are invaluable for revision and for planning subsequent lessons. If most students didn’t achieve the objective, you’ll need to reteach or approach the content differently before moving on. If certain students struggled while others excelled, you’ll need to plan differentiated support and extension in upcoming lessons.
Use your reflections also to identify patterns in your teaching. Do you consistently run out of time? Perhaps you’re planning too much content per lesson. Do students frequently seem confused during independent practice? Maybe you need more guided practice or better checking for understanding. This metacognitive process makes you a better planner over time.
Creating Efficiency in Your Planning Process
Daily lesson planning shouldn’t consume all your non-teaching hours. Work smarter by planning units before planning individual lessons, so you understand the learning trajectory and can design lessons that build coherently toward unit goals. Collaborate with colleagues teaching the same content to share planning responsibilities and resources.
Reuse and revise effective lessons rather than recreating from scratch each year. Your lesson plans should improve with iteration as you learn what works with your students and content. Create templates for common lesson structures so you’re not starting from a blank page every time.
Batch your planning by sitting down to plan a week at a time rather than daily, which allows you to see connections and ensure appropriate pacing. Use planning time efficiently by minimizing distractions and having all necessary resources accessible. Set a timer if needed to prevent perfectionism from making planning take longer than necessary.
Balancing Planning with Flexibility
While thorough planning is essential, recognize that lesson plans are guides, not scripts. Stay responsive to student needs even when it means deviating from your plan. If students are genuinely confused, spend more time on guided practice even if it means not finishing the planned content. If they’ve mastered the objective more quickly than expected, move forward rather than forcing them through unnecessary practice.
The more skilled you become at planning, the more easily you can adjust in the moment because you understand your instructional options and can make informed decisions about next steps. Your plan gives you the confidence to be flexible because you know where you’re going and multiple ways to get there.
Conclusion
Effective daily lesson planning is both an art and a science, requiring careful attention to learning objectives, assessment, instructional design, and logistics while remaining realistic about the time you can devote to planning. By following a consistent system and continually refining your approach based on reflection, you’ll create lessons that engage students, promote meaningful learning, and make your teaching more effective and less stressful. Start with these steps, adapt them to your needs and context, and trust that your planning skills will develop with practice and experience.
2 responses to “Complete Daily Lesson Planning System for School Teachers”
-
[…] using AI for lesson planning, provide these key […]
-
[…] Also Read: Daily Lesson Planning for Teachers […]

Leave a Reply